Description
The Lexity Live for WP e-Commerce plugin for WordPress provides the following functionality:
- See who is in your store now, and what products they are picking up and putting in their shopping cart.
- Get graphs of revenue and traffic over the past 12 months.
- See real time revenue and traffic from Google, Amazon, Facebook, Pinterest, Twitter, and more.
- Get actionable recommendations for your marketing.
- Get detailed statistics to help you better understand your business, including keywords, referral links, search engines, geolocation, and time on site.
- Chat with visitors who are in your shopping cart or are looking at specific product pages (first five chats per day are free.)
What is Lexity Live?
- Lexity Live is a FREE web service and provides functionality that no WP e-Commerce web store owner should be without. Learn more at lexity.com/apps/live.
Screenshots

Insights for the Last 7 Days: Top Referrers, Most Traffic from Search and more. 
Your Visting Customer List: Vistors Last Hour and Page Views Today. 
Your Visting Customer List: Chat and What Pages They Have Seen. 
Your Vistors and Revenue Over Time, Top Visitors and Vistor Map. 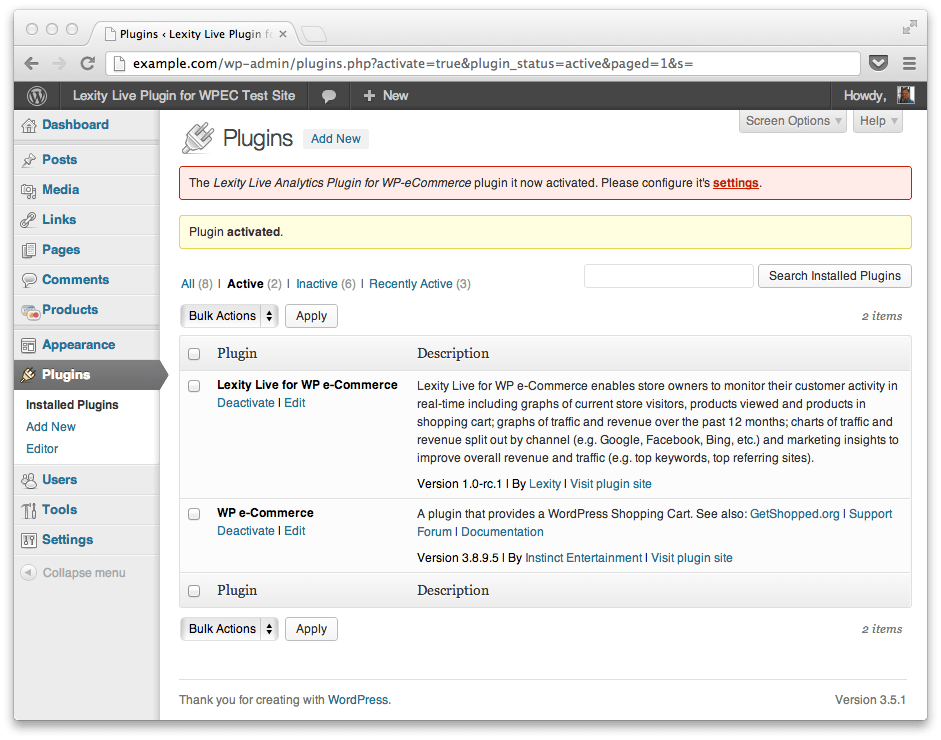
Immediately after plugin installation and activation. 
Entering your new Lexity.com credentials 
Your Lexity.com Live admin console within your WordPress admin console.
Installation
There are several ways to install the Lexity Live for WP e-Commerce depending on your needs, experience and web server configuration.
Easy Installation for End Users
The easiest way to install is to search the WordPress plugin repository and let WordPress do the work for you. Just take these steps:
- Visit the “Plugins/Add New” menu option in the WordPress admin.
- Type “Lexity Live” in the search box and click the “Search Plugins” button.
- Find the “Lexity Live for WP e-Commerce” in the name column.
- Click the “Install Now” link under the plugin name
- Click the “OK” button when asked if you are sure.
- Wait for WordPress to download and install the plugin.
- Click the “Activate” link to activate the plugin.
- Then jump to the section below labeled “After Plugin Activation.”
Installation by .ZIP File Upload
If you are a little more technical, have the plugin as a .ZIP file on your computer and you either cannot or don’t want to use the easy install method above you can upload directly. Here’s how:
- Visit the “Plugins/Add New” menu option in the WordPress admin.
- Click the “Upload” link immediately under the _”Install Plugins” header.
- Click the “Choose File” button.
- Select the plugin’s .ZIP file from the location you saved it on your local computer.
- Click the “Install Now” button
- Wait until the plugin is uploaded to your server.
- Click the “Activate” link to activate the plugin.
- Then jump to the section below labeled “After Plugin Activation.”
Note this method will not work if another copy of the plugin already exists on the web server. If so, deactivate and then delete that plugin and then you can use the upload method in this section.
Advanced/FTP Installation
If you are a professional site builder and you want full control and/or you have access to your web server and are are comfortable with FTP you might want to do an advanced install. Here are the steps if you are using FTP or if you are developing locally:
- Unzip the .ZIP file containing the Lexity Live for WP e-Commerce plugin to a directory on your local computer.
- Log in to your web server using FTP or STFP.
- Create a subdirectory
lexity-live-for-wp-e-commercein the/wp-content/plugins/directory. - Copy all the plugin’s files in your local directory to the
/wp-content/plugins/lexity-live-for-wp-e-commerce/subdirectory on your web server. - Visit the “Plugins/Installed Plugins” menu option in the WordPress admin.
- Find the “Lexity Live for WP e-Commerce” plugin and click the “Activate” link below the plugin’s name.
- Now jump to the next section below (the one labeled “After Plugin Activation.”)
After Plugin Activation
- Visit the ‘Settings/Lexity Live for WPEC’ menu option in the WordPress admin.
- Enter your email address and preferred password to create a Lexity Live account for your website.
- And finally, click the “Save Changes” button.
Your Lexity Live for WP e-Commerce plugin is now installed, activated, configured and ready for duty!
Reviews
There are no reviews for this plugin.
Contributors & Developers
“Lexity Live for WP e-Commerce” is open source software. The following people have contributed to this plugin.
ContributorsTranslate “Lexity Live for WP e-Commerce” into your language.
Interested in development?
Browse the code, check out the SVN repository, or subscribe to the development log by RSS.
Changelog
1.0.9
- Fixed ability for Lexity.com’s servers to connect to FastCGI servers on Dreamhost and elsewhere.
1.0.8
- Resolved bug with loading Lexity API.
1.0.5
- Committed new version to resolve the duplicate code in /trunk/ subdirectory with 1.0.4.
1.0.4
- Changed code so that wp_option() settings match plugin name, i.e. ‘lexity-live-for-wp-e-commerce-settings’.
1.0.3
- Forgot to update Stable tag in 1.0.2.
1.0.2
- Fixed bug introduced by fixing the uninstall special case.
1.0.1
- Used better banners for WordPress.org
- Fixed bug in install for < PHP 5.3
1.0
- Initial release.